
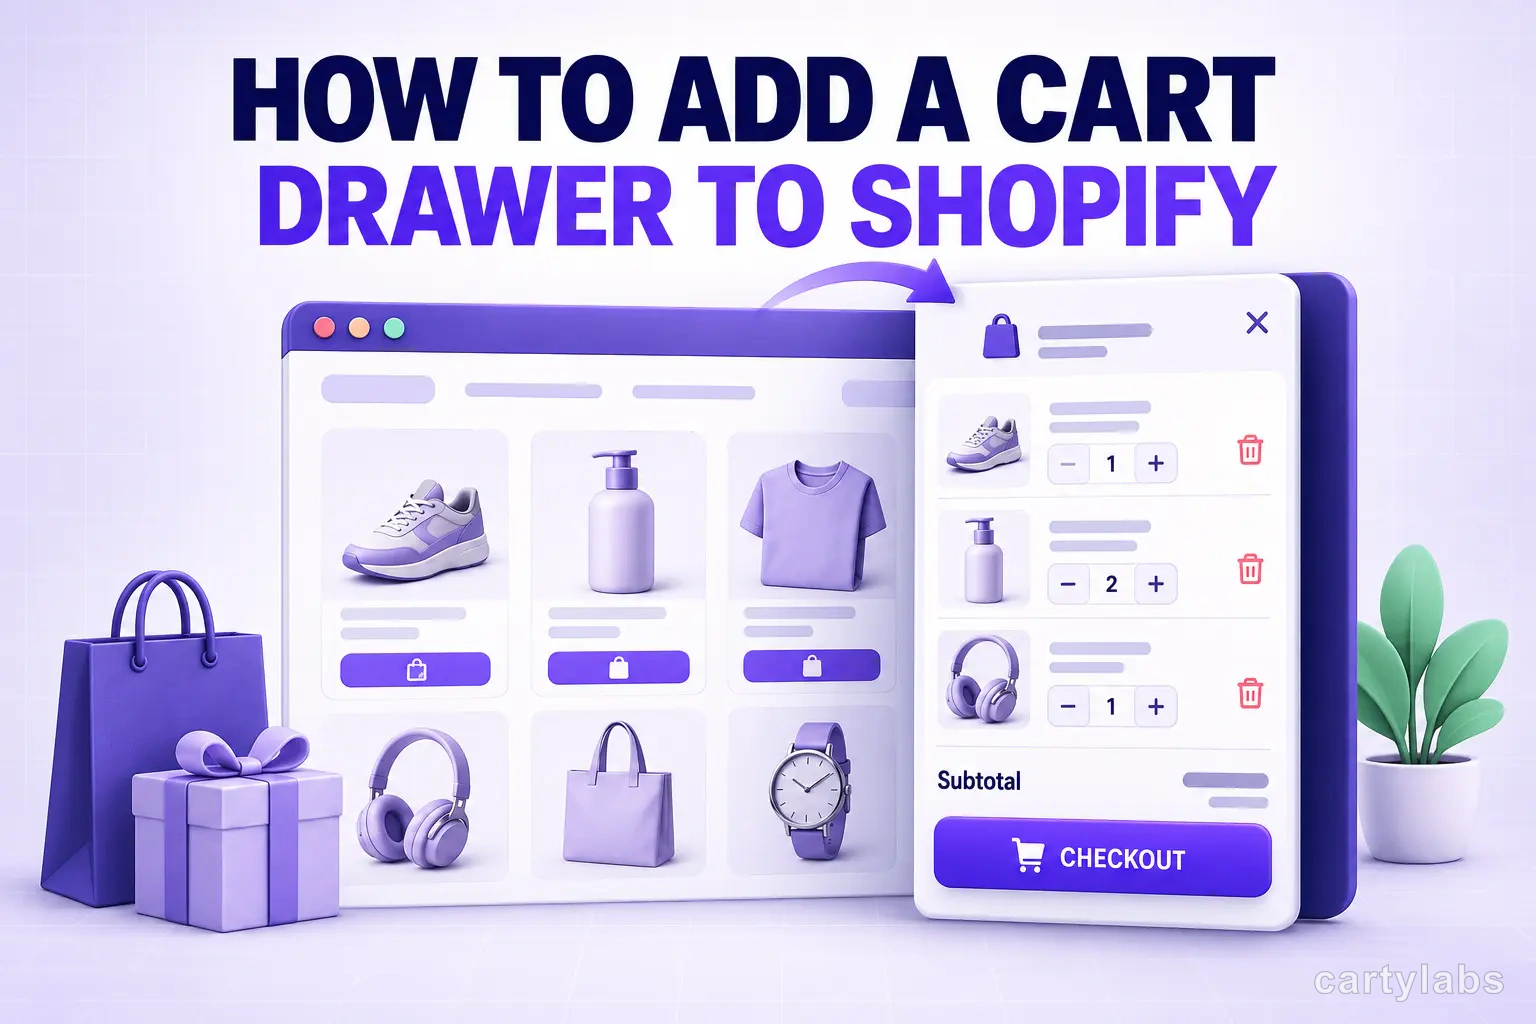
How to Add a Cart Drawer to Shopify (No-Code Guide)
Step-by-step no-code guide to adding a cart drawer to Shopify in under 5 minutes. App picks, setup, theme compatibility, and common pitfalls covered.
In this article
- 01 What “no-code” actually means here#
- 02 Before you start: a 2-minute audit#
- 03 Step 1: pick a cart drawer app#
- 04 Step 2: install from the Shopify App Store#
- 05 Step 3: enable the App Embed in your theme#
- 06 Step 4: configure the drawer’s appearance#
- 07 Step 5: turn on the free-gift progress bar#
- 08 Step 6: enable AI cross-sells#
- 09 Step 7: enable the sticky cart icon#
- 10 Step 8: disable your theme’s old cart drawer (if any)#
- 11 Step 9: test on mobile, desktop, and the checkout flow#
- 12 Common pitfalls and fixes#
- 13 How long this should take#
- 14 What to measure after launch#
- 15 A short summary#
Adding a cart drawer to Shopify used to mean editing Liquid templates, writing JavaScript, and praying you didn’t break checkout. In 2026, that’s no longer true. Shopify App Embeds and Theme App Extensions have made it possible to add a fully featured cart drawer in under five minutes without touching a line of code.
This guide walks through the no-code path: which app to pick, how to install it, how to configure the drawer to match your theme, and the small handful of things that still go wrong. By the end, you’ll have a slide-out cart with rewards, upsells, and a sticky cart icon live on your store.
What “no-code” actually means here
A few setup approaches still get marketed as “no-code” but aren’t:
- Pasting a JavaScript snippet into
theme.liquid(that’s code). - Editing
cart-drawer.liquidto call an app’s function (also code). - Setting up Liquid variables to pass to a third-party script (still code).
The actual no-code path uses Shopify App Embeds, a feature Shopify introduced to let apps inject UI into your storefront via the theme editor’s “App embeds” tab. You toggle it on, the drawer appears. No file edits.
For this guide, we’re using Cartylabs as the example because it ships as an App Embed and we know its setup well. The same flow works for most modern slide cart apps.
Before you start: a 2-minute audit
Run these checks first. Skipping them is the most common reason setups fail later:
- What theme are you on? Dawn, Sense, Craft, Refresh, and most Shopify 2.0 themes work natively. Older Vintage themes (pre-2021) may need a migration first.
- Do you have an existing cart drawer? Some themes (Dawn included) ship a basic drawer. You’ll need to disable it before installing a new one to avoid two drawers fighting.
- Are you using a third-party header/cart customizer? Apps like GemPages, Shogun, or PageFly sometimes override the cart icon. You’ll need to point their cart icon to the new drawer’s open trigger.
- What’s your current cart-to-checkout rate? Note it. You’ll want a baseline to measure the lift.
Step 1: pick a cart drawer app
The realistic shortlist for no-code installs in 2026:
| App | Free plan | AI upsells | Stacked rewards | Setup time |
|---|---|---|---|---|
| Cartylabs | Yes | Yes | Yes | ~5 min |
| Rokt Upcart | No (14-day trial) | Basic | Single tier | ~10 min |
| Monster Upsells | Yes (limited) | Rules-based | Single tier | ~10 min |
| Amp Slide Cart | No | Basic | Single tier | ~10 min |
We covered the full comparison in Rokt Upcart alternatives. For a no-code path with the most features in the free tier, Cartylabs is the easiest pick. The rest of this guide assumes that, but the steps generalize.
Step 2: install from the Shopify App Store
This is the standard Shopify install flow:
- Go to the Cartylabs listing on the Shopify App Store.
- Click Add app, then Install app on the permissions screen.
- Wait 10-15 seconds for the install to provision.
You’ll land in the app’s onboarding wizard. If you’ve used Shopify apps before, this part is familiar.
Step 3: enable the App Embed in your theme
This is the no-code magic. Inside the app:
- Click Activate in theme (or similar wording, depending on app version).
- Shopify opens the theme editor at the App embeds panel.
- Toggle Cartylabs Cart Drawer to on.
- Click Save in the theme editor.
Behind the scenes, Shopify is registering the app’s script with your theme. You don’t see this; you just see the toggle flip and the drawer appear on the storefront.
Step 4: configure the drawer’s appearance
Back in the app, you’ll see a configuration panel with sections roughly matching:
- Drawer style: width, animation speed, slide direction. Keep defaults unless you have a strong reason.
- Colors: pull from your brand. Most apps offer “match theme” detection that reads your theme’s primary/accent colors automatically.
- Typography: usually inherits from your theme. Override only if your theme uses a non-system font that doesn’t render in iframes.
- Layout: order of elements (line items, cross-sells, rewards bar). Defaults are usually correct; see our mini cart best practices for the order that performs best.
Save and preview. The drawer should now open when you click Add to Cart on any product page.
Step 5: turn on the free-gift progress bar
The single highest-ROI feature to enable. In the rewards section:
- Set the threshold: 1.4-1.6x your current AOV is the sweet spot. If your AOV is $60, set free shipping at $85.
- Choose the reward: free shipping is the easiest first tier. You can layer free gift, percentage off, or sample tiers later.
- Set the copy: “Spend $X more for free shipping” (the app should auto-fill this with the threshold).
- Save.
This alone typically lifts AOV 8-14% in the first 30 days.
Step 6: enable AI cross-sells
In the upsell section:
- Toggle AI recommendations on.
- Set the count to 3 or 4 (more than that hurts conversion; we covered the data in cart drawer A/B testing).
- Pick the placement: below line items is the higher-converting position.
- Optionally set rules: exclude items already in cart, exclude out-of-stock variants, limit to specific collections.
- Save.
The AI engine needs roughly 100-500 sessions to start producing tuned recommendations. In the first day, expect generic “best sellers.” By day 7, recommendations should be visibly tailored to cart contents. See AI product recommendations on Shopify for how the model trains.
Step 7: enable the sticky cart icon
The sticky cart icon is a small persistent button (usually bottom-right on mobile, top-right on desktop) that re-opens the drawer from anywhere on the site. Without it, shoppers who close the drawer and navigate away can’t easily get back to their cart.
In the sticky cart section:
- Toggle on.
- Position: bottom-right on mobile, top-right on desktop (defaults).
- Show only when cart has items: yes (avoid empty-cart clutter).
- Save.
Step 8: disable your theme’s old cart drawer (if any)
If your theme shipped a default drawer (Dawn, Sense, Craft do), the new drawer might conflict with it. Two drawers opening at once is a common bug.
Go to Online Store → Themes → Customize → Theme settings → Cart. Look for a setting like “Cart type” or “Cart drawer.” Set it to Page instead of Drawer. The new app’s drawer takes over.
Some themes don’t expose this setting in the UI, in which case the app usually overrides the theme’s drawer automatically. If you see two drawers, contact the app’s support.
Step 9: test on mobile, desktop, and the checkout flow
Before announcing the change to your team, test:
- Desktop add-to-cart: drawer opens, line item appears, checkout works.
- Mobile add-to-cart: drawer is full-width, sticky checkout button is visible, swipe-to-close works.
- Variant products: variant picker on PDP correctly passes the variant ID to the drawer (most common bug spot).
- Discount codes: any auto-apply discounts surface as line items, not just in subtotal.
- Subscription products: if you sell subscriptions, the subscription toggle appears in the drawer.
- Gift cards: gift card products render correctly in line items.
- Bundle SKUs: if you use bundle apps, confirm the bundle renders as a single line item or grouped lines (depending on your bundle app’s contract).
Spend 10 minutes on this. Issues caught here save hours of “why did sales drop?” debugging later.
Common pitfalls and fixes
The handful of things that still go wrong, with fixes:
- Two cart drawers opening at once: theme’s native drawer not disabled. See step 8.
- Drawer doesn’t open on Add to Cart: theme’s add-to-cart form is using a non-standard event. Most apps offer a manual trigger setting; flip it on.
- Cart icon in header doesn’t open the drawer: header is rendered by a third-party page builder. Point the page builder’s cart icon to the app’s open trigger (usually
data-cartylabs-openor similar; check the app’s docs). - Subscription items show wrong price: subscription app integration not wired. Most slide cart apps support Recharge, Skio, and Bold; pick yours in the integration settings.
- Drawer renders behind a sticky header on mobile: z-index conflict. Most apps expose a z-index setting; bump it above your header’s z-index.
- Slow drawer open on first load: the drawer is lazy-loading. Toggle “pre-render drawer” if available, or upgrade to a paid tier that supports it.
How long this should take
Realistic timing:
- Install + enable App Embed: 2 minutes
- Configure colors + layout: 5 minutes
- Enable rewards bar + AI upsells + sticky cart: 5 minutes
- Test desktop + mobile: 10 minutes
Total: about 22 minutes for a thorough setup. The “5-minute install” headline is real if you skip styling and testing, but please don’t.
What to measure after launch
For the first 14 days post-launch, track:
| Metric | Target | Where to find it |
|---|---|---|
| Cart-to-checkout rate | >50% | Shopify Analytics → Cart funnel |
| Items per cart | +0.3 vs baseline | Shopify Analytics → Order details |
| AOV | +8-15% vs baseline | Shopify Analytics → Sales |
| Mobile cart-to-checkout | >45% | Filtered by device in analytics |
If any are flat or down after 14 days, something is misconfigured. Most apps’ built-in analytics will surface the specific drop point.
A short summary
Adding a cart drawer to Shopify is a 5-minute setup in 2026, and it’s one of the few changes that pays back in the first week. The no-code path is: install an App Embed-based slide cart, toggle it on in the theme editor, configure rewards and upsells, disable any conflicting theme drawer, and test on mobile.
Most stores see 8-15% AOV lift in the first month, and a measurable cart-to-checkout improvement within days. The setup cost is roughly 22 minutes of focused work.
Ready to install? Install Cartylabs free on Shopify, or book a 15-minute demo and we’ll walk through the setup live.
Next steps
Related Shopify resources
Practical tools and product pages related to this guide.
Keep reading
All articles →
Headless Shopify Cart with Hydrogen: When It's Worth It
Headless Shopify cart with Hydrogen: when the React framework actually pays back, what breaks, and the honest trade-offs vs. a Liquid theme cart drawer.
How to Add Upsells to Your Shopify Cart Drawer
Add cart drawer upsells three ways: no-code with Search & Discovery, custom Ajax code, or an app. Product selection, placement, mobile, and measurement.
15 Shopify Cart Drawer Examples That Increase AOV
15 real Shopify cart drawers, graded on free-shipping bars, upsells, bundles, rewards, and mobile UX — with the exact tactic to copy from each.
 Install Cart — Free